Ready to restore and strengthen your concrete surfaces? Contact the local repair experts at Painter Squad today for a free estimate!
Vancouver concrete repair
Concrete repair services - Concrete crack repair - Concrete resurfacing - Concrete foundation repair - Concrete floor repair - Concrete patching - Concrete repair contractors - Concrete driveway repair -Concrete restoration services - Concrete slab repair
Fast Response
Reach out to Painter Squad for a fast response! Contact us today for quick quotes and seamless service.
Professional Advice
Receive professional painting guidance from Painter Squad! We’ll help you pick the perfect colors and finishes to suit your space.
FREE Estimates!
Get a free estimate from Painter Squad! No hidden fee, just fair pricing and top-quality service.
Satisfaction Guaranteed
Your satisfaction comes first! At Painter Squad, we guarantee superior results that you’ll be thrilled with every time.
"Vancouver Concrete Repair Services for Long-Lasting Results | Painter Squad
Is your concrete cracked, damaged, or worn down? Let Painter Squad bring it back to life with our professional Vancouver Concrete Repair.
Painter Squad specialize in Concrete repair services, Concrete crack repair, Concrete resurfacing, Concrete foundation repair – Concrete floor repair, Concrete patching, Concrete repair contractors, Concrete driveway repair, Concrete restoration services, Concrete slab repair
As the most reliable concrete repair company near you, we focus on delivering high-quality, lasting solutions that not only restore your concrete’s appearance but also enhance its durability and protect it from future wear and tear. Trust us to provide efficient and effective repairs that stand the test of time.
With our team of experienced professionals, your concrete surfaces won’t just be fixed—they’ll be reinforced for long-lasting durability. Reach out to Painter Squad today and revitalize your driveways, sidewalks, patios, and more with our trusted concrete repair services!
Skilled Contractors for Concrete crack repair in Vancouver
At Painter Squad, we understand that precision and attention to detail are crucial for lasting and effective Concrete crack repair in Vancouver
With many factors affecting the lifespan of your concrete surfaces, our experienced professionals take extra care to ensure every repair is completed to the highest standard.
No need to search for “concrete repair near me” anymore! As your trusted concrete repair contractor, we guarantee that your driveways, sidewalks, patios, and other surfaces will not only look fantastic but also stay strong and protected from wear and tear.
Painter Squad provides Affordable concrete repair in Vancouver guarantees outstanding durability and total customer satisfaction. We don’t just restore surfaces; we restore peace of mind—reinforcing and rejuvenating your spaces to last years. Trust us to bring strength and reliability back to your concrete with our expert craftsmanship and careful attention to detail.
1. Surface Preparation
Surface preparation is a critical first step in affordable concrete repair in Vancouver because it ensures proper adhesion of the repair material to the existing concrete. If the surface isn’t adequately prepared, the repair might fail, leading to further damage. Below is a detailed guide on how to properly prepare the surface for concrete repair:
Steps for Surface Preparation to ensure Affordable Concrete Repair in Vancouver:
1. Inspect the Area
Examine the damage to determine the extent and type (e.g., cracks, spalling, holes). Check for contaminants such as oil, grease, dirt, or old coatings (like paint or sealers) that could interfere with the bonding of the repair material.
2. Remove Loose Concrete and Debris
Use a hammer and chisel or a wire brush to remove any loose or crumbling concrete around the damaged area.
For larger damaged sections, you may need a hammer drill or angle grinder to break up the surface. Clean out any debris from the crack, hole, or spalled area to ensure the repair material can fully penetrate and bond to the concrete.
3. Clean the Surface
Wash the damaged area with water to remove dust, dirt, and other particles. For more thorough cleaning, use a concrete cleaner or degreaser to remove oils, grease, and stains. For stubborn contaminants (like oil or grease), use a solvent designed for cleaning concrete, following the manufacturer’s instructions. Use a pressure washer for larger areas if needed, but ensure that the surface is not too wet when you proceed to the next steps.
4. Widen Cracks (If Necessary)
For crack repairs, use a hammer and chisel to widen and deepen the crack slightly, especially if it is very narrow or has a tapered shape. This helps the repair material to bond more effectively. V-shaped cuts on both sides of the crack are ideal for better adhesion.
5. Remove Dust
After cleaning and widening, ensure the area is free of dust and debris by using a shop vacuum, brush, or compressed air. The presence of dust can interfere with the bonding of the repair material.
6. Apply a Bonding Adhesive (Optional but Recommended)
For many concrete repair products, applying a bonding adhesive or bonding agent to the prepared surface is recommended. Concrete bonding agents create a strong bond between the old and new concrete, preventing delamination (failure of the bond between old and new concrete).
If using a bonding adhesive, make sure to apply it evenly across the prepared area. Follow the manufacturer’s guidelines on curing times before applying the repair material.
7. Dampen the Surface (For Cement-Based Repair Materials)
Before applying cement-based patching materials, dampen the surface slightly with clean water. This prevents the existing concrete from absorbing too much moisture from the repair material, which can lead to cracking. Do not saturate the surface—just dampen it lightly. Excess water can weaken the repair.
8. Ensure Proper Ventilation and Weather Conditions
Ideal temperature for repair: Ensure the temperature is between 50°F and 85°F (10°C and 29°C). Avoid extreme cold or heat. Ventilate the area well if you’re using adhesives or chemical-based repair products to avoid inhaling fumes.
9. Prepare Tools and Materials
Have your repair material, tools (trowel, putty knife, float, etc.), and safety gear (gloves, eye protection, etc.) ready. Ensure that the repair product (epoxy, cement-based compound, etc.) is mixed correctly before application.
Why Surface Preparation is So Important:
Improved Adhesion: Proper cleaning, bonding agents, and surface roughening help ensure the new repair material bonds well to the existing concrete. Increased Durability: Properly prepared surfaces reduce the chances of premature failure of the repair. Even and Smooth Finish: Correct preparation allows for a smoother, more uniform finish that blends well with the surrounding concrete.
Surface preparation is the foundation of a successful concrete repair. Taking the time to properly clean, prep, and treat the surface ensures that the repair material will adhere securely and last longer. Without proper surface preparation, even the best repair material can fail, leading to additional work and cost.
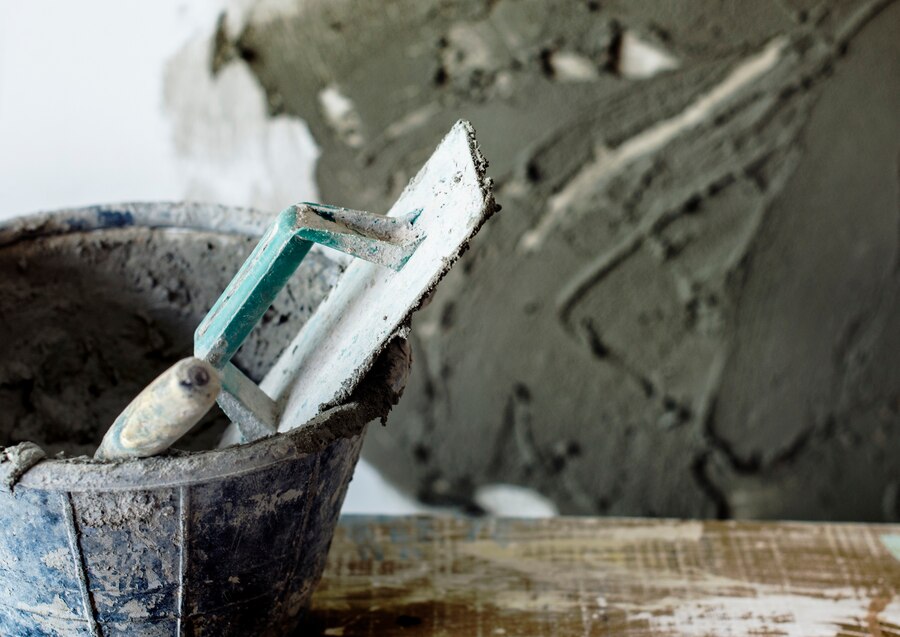
2. Repair Application for Affordable concrete repair in Vancouver
Steps to Effectively Apply Concrete Repair Materials for Affordable concrete repair in Vancouver
Once you’ve thoroughly prepared the surface, the next step is applying the concrete repair material. The type of repair material (e.g., patching compound, epoxy, or resurfacing mix) and the method of application depend on the nature of the damage and the product being used. Below are the general steps for applying the concrete repair material for affordable concrete repair in Vancouver:
1. Choose the Right Repair Material
Epoxy: Ideal for filling cracks and bonding concrete surfaces together. It’s durable and has strong adhesive properties.
Polyurethane: Often used for filling cracks and offering flexibility for minor movement in the concrete.
Cement-based Patch: Used for larger surface repairs (e.g., spalling or holes) and provides a solid, durable repair for floors, driveways, and foundations.
Resurfacing Compound: A thinner, smooth mixture designed for restoring large areas of deteriorated concrete surfaces.
Concrete Patching Compound: Pre-mixed or dry mix that is perfect for fixing small to medium-sized holes or cracks.
2. Mix the Repair Material
Follow the manufacturer’s instructions for mixing the repair material to ensure it sets and cures properly.
If using a dry mix, combine the powder with the recommended amount of water, mixing it until smooth and lump-free.
Epoxies or two-part systems: Mix the resin and hardener according to the directions. Be sure to mix them thoroughly for consistent results.
Use a drill mixer for larger batches if working on big areas to avoid inconsistent mixing.
3. Apply the Repair Material
For cracks:
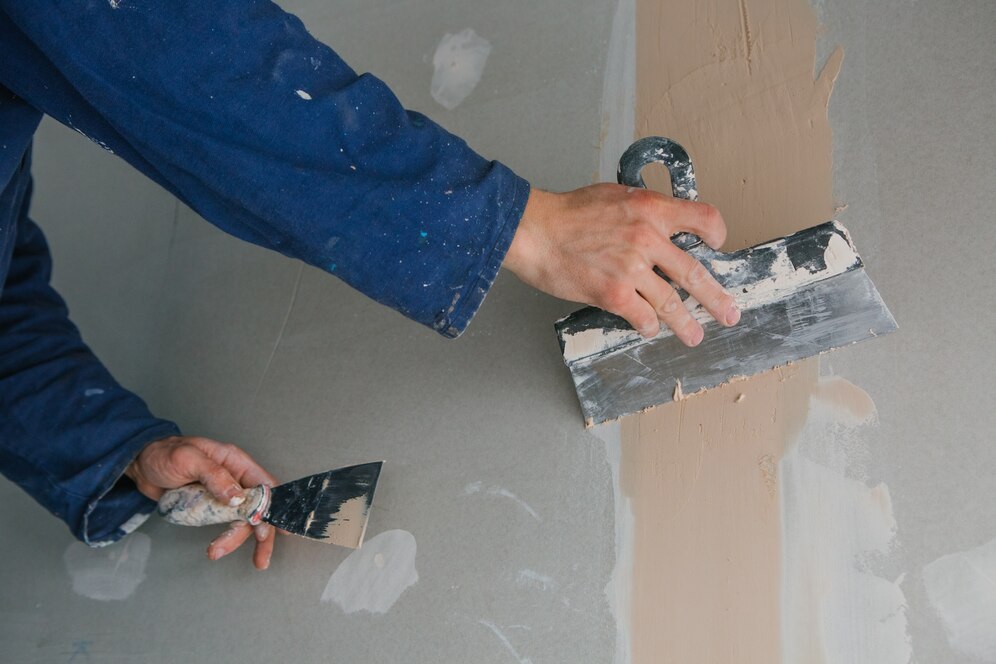
Use a putty knife or caulk gun (if it’s a liquid or paste) to fill the crack. Apply the material directly into the crack, ensuring it fills the entire space.
For deeper cracks, you may need to apply the material in layers. Allow each layer to dry before applying the next.
For holes or spalling:
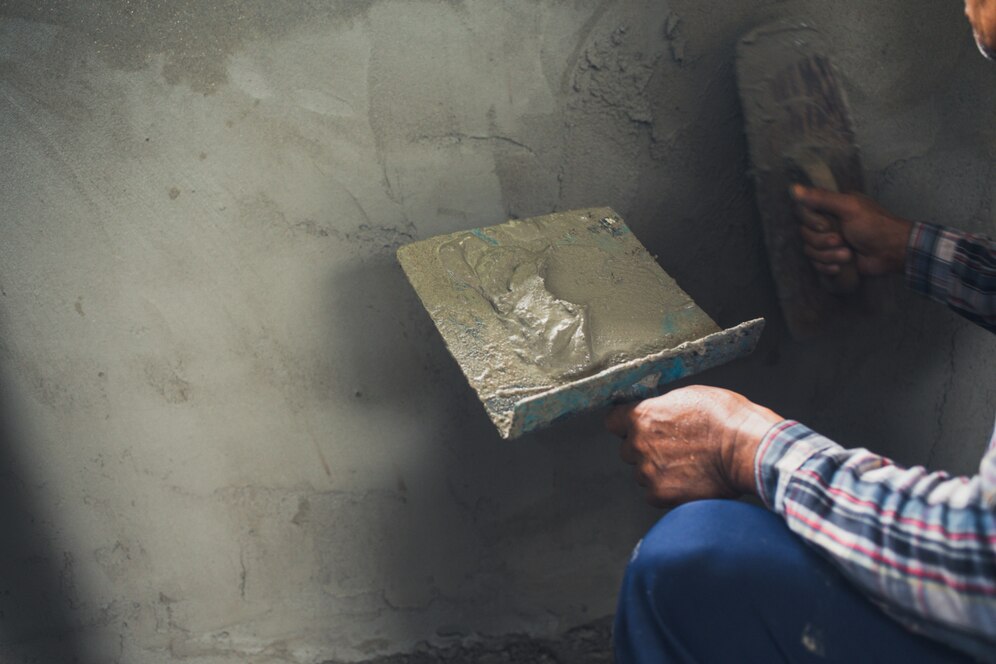
Use a trowel or putty knife to apply the patching compound over the damaged area.
Press the material into the hole, smoothing it out to ensure it fills the void and aligns with the surrounding surface. Work quickly, as some materials may begin to set or harden quickly.
For resurfacing:
Pour the resurfacer or compound over the damaged surface. Use a squeegee or long-handled trowel to spread it evenly over the surface. This is especially useful for resurfacing driveways, sidewalks, or floors.
4. Smooth the Surface
Trowel the material: Once applied, use a trowel or a float to smooth out the repair. For crack repairs, ensure the surface is level with the surrounding area.
Create a smooth finish: For a level, smooth finish (especially for resurfacing), use a floating tool to ensure the repair is uniform. This step is important for achieving a seamless look with the existing concrete.
5. Fill and Level Large Cracks or Holes
For larger cracks or holes, you might need to apply multiple layers of material.
Apply the first layer, let it dry, and then apply subsequent layers until the repair is flush with the surrounding concrete.
Ensure each layer cures properly before applying the next.
6. Allow the Material to Set
Allow the repair material to set according to the product instructions. This could range from a few hours to several days, depending on the product and the extent of the repair.
Avoid heavy traffic on the repair area during the curing process. Follow the product’s curing times to ensure proper hardening.
7. Finish and Smooth the Repair
Once the repair material is applied and has begun to set, you can smooth the surface further using a wet sponge or a damp cloth (for cement-based repairs) to ensure a more refined finish.
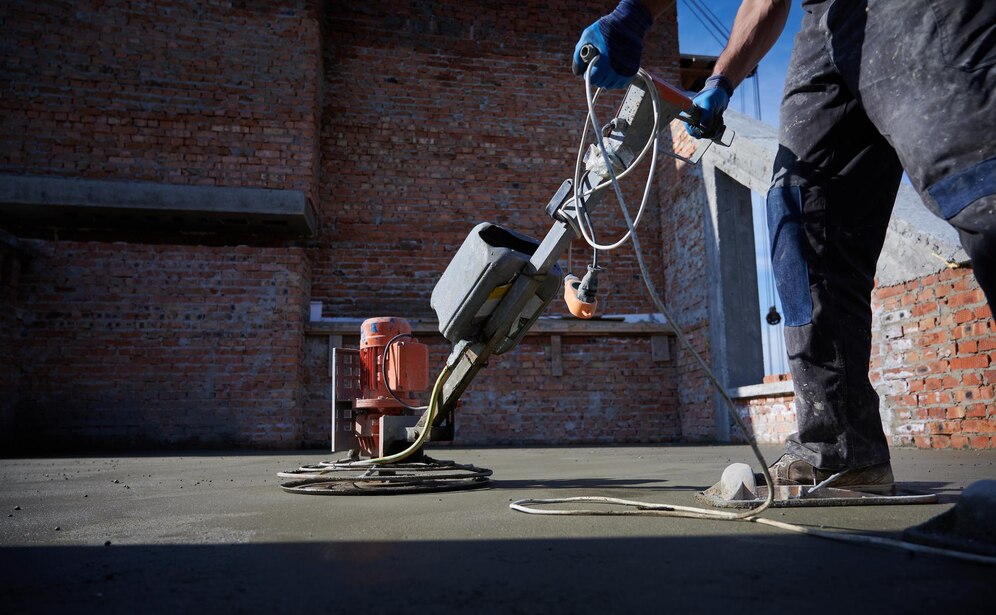
If you’re repairing a larger area or doing a resurfacing job, a power trowel may be used for a more professional, smooth finish, especially in commercial or industrial settings.
8. Allow Full Curing Time
Curing is crucial: Let the repaired area cure fully according to the manufacturer’s instructions. Curing can take anywhere from a few hours to a few days, depending on the repair material used and the environmental conditions.
Avoid exposing the repair to water, extreme temperatures, or heavy traffic during the curing period.
9. Optional: Seal the Repair
After the repair is fully cured, you may want to apply a concrete sealer to protect the repair and the surrounding concrete from water, stains, and damage.
Sealing the repaired area also helps with moisture resistance and extended longevity of the repair.
Conclusion:
Proper application of concrete repair materials is essential to ensure a strong, durable, and long-lasting fix. Whether you’re repairing cracks, holes, or resurfacing concrete, following these steps carefully will help achieve a professional-quality result. Always follow the manufacturer’s instructions, work in optimal conditions, and ensure proper curing for the best outcome.
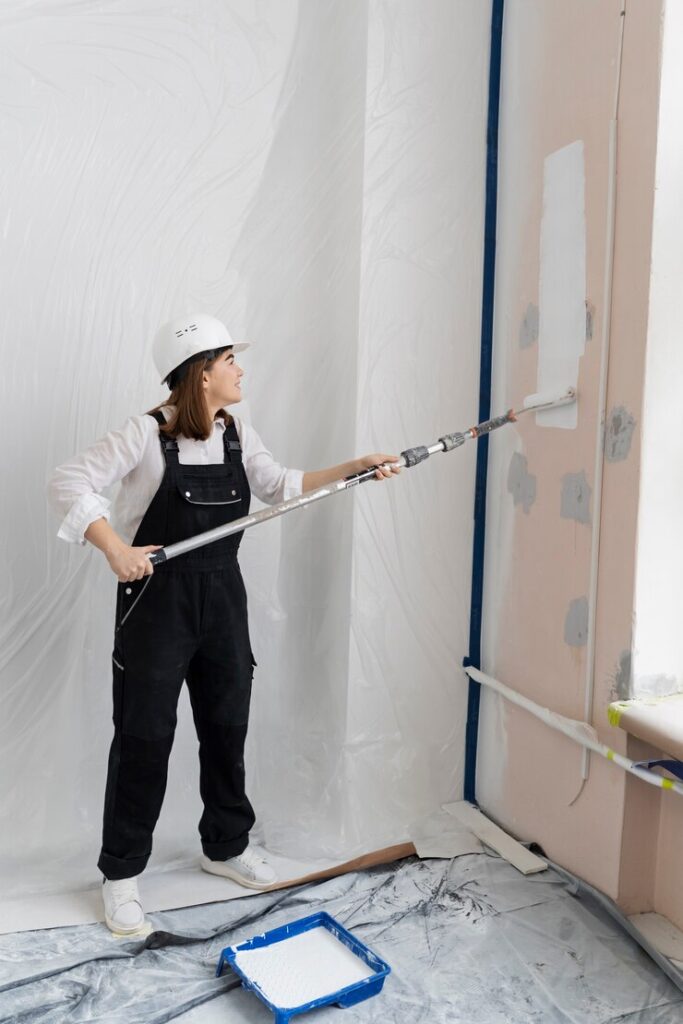
3. Finishing & Curing Ensuring a Affordable concrete repair in Vancouver
Once you’ve applied the concrete repair material, the final crucial steps are finishing and curing. Proper finishing ensures that the repair blends seamlessly with the existing concrete, while proper curing guarantees that the repair reaches its maximum strength and durability. Here’s a detailed guide to the finishing and curing process for a Affordable concrete repair in Vancouver:
1. Finishing the Repair
The finishing step ensures that the repaired surface matches the surrounding concrete in both appearance and texture. Depending on the type of repair (e.g., cracks, holes, resurfacing), the finish may vary.
Steps for Finishing the Repair:
Smooth the Surface:
Troweling: Use a steel trowel or float to smooth and level the repair. This ensures that the material fills the hole or crack uniformly and aligns with the surrounding concrete.
For larger repairs, such as resurfacing, use a long-handled squeegee or broom to spread the material evenly.
If applying multiple layers, finish each layer before applying the next, ensuring the surface is smooth and even.
Ensure a Seamless Transition:
Blend the edges of the repair with the surrounding concrete to avoid noticeable lines or transitions. This can be done by smoothing the edges with a damp sponge for cement-based repairs or using a trowel to feather out the edges.
Texturing: If your concrete surface has a specific texture (e.g., broom finish or brushed texture), use a broom or texturing tool on the surface of the repair before it sets completely.
Check for Levelness:
For floor repairs, check the level of the repair with a level tool to ensure that the surface is flat. This step is especially important for driveway, patio, or indoor floor repairs.
Clean the Surrounding Area:
If excess repair material has spilled onto surrounding areas, clean the edges with a damp cloth or sponge to prevent staining or unevenness.
2. Curing the Repair
Curing is a critical step in ensuring that the concrete repair material hardens properly and gains its full strength. Proper curing helps to minimize cracking, ensure durability, and extend the lifespan of the repair.
Why Curing is Important:
Hydration: Concrete needs water to properly hydrate and harden. Insufficient curing can lead to weak concrete, poor adhesion, and surface cracks.
Prevent Shrinkage: Curing prevents the rapid loss of moisture, which can cause shrinkage and cracks in the repair.
Steps for Proper Curing:
Allow the Repair to Set Initially:
After applying the repair material, allow it to set for at least 1-2 hours (depending on the material) before attempting to finish or begin curing. The surface should be firm but not fully dry.
Avoid touching or disturbing the repair during the initial setting time.
Cover the Repair (For Cement-Based Repairs):
Use a curing blanket, plastic sheeting, or damp burlap to cover the repair. This helps retain moisture and maintain the proper curing environment.
Ensure the covering is not too tight, allowing air circulation while preventing the repair from drying too quickly.
If you’re working on a large surface, use wet burlap or mats to keep the area moist and prevent premature drying.
Keep the Repair Moist (For Cement-Based Repairs):
Mist the repair with water or keep it covered with wet burlap if the repair material is cement-based.
Spray lightly several times a day to keep the surface moist for at least 3-7 days, depending on the temperature and product instructions.
For hot or dry weather, you may need to mist more frequently to ensure the repair does not dry too quickly, as this can lead to cracks or weakened repairs.
Avoid Direct Sunlight or Wind:
Protect the repair from excessive heat or direct sunlight during curing. High temperatures can cause the repair material to dry too quickly and weaken the bond.
If possible, shade the repair area or use plastic sheeting to prevent evaporation.
Cure for the Recommended Time:
Cement-based repairs typically need 3-7 days of curing time, depending on the material and environmental conditions.
For epoxies or urethanes, curing times may vary, but most repair products will reach their full strength after about 24-48 hours of curing.
Avoid Traffic on the Repair Area:
Keep the repair area free from foot traffic, vehicles, or heavy machinery until the curing period is complete. This ensures that the repair is not disturbed and achieves maximum strength.
Follow the manufacturer’s recommendations for how long to wait before using the repaired surface.
3. Post-Curing and Sealing
After curing, the final step in protecting your concrete repair is sealing. While sealing is optional, it helps to enhance the durability of the repaired surface by adding an extra layer of protection.
Sealing the Repair:
Once the repair has fully cured and is solid, apply a concrete sealer to protect it from moisture, stains, and wear.
Choose a sealer that’s compatible with the type of repair material used (e.g., acrylic, epoxy, or urethane-based sealers).
Allow Time for the Sealer to Dry:
Follow the instructions on the sealer for drying time. Typically, the sealer should dry within a few hours, but it’s best to wait at least 24 hours before using the surface.
4. Final Inspection
After completing the curing process and applying any necessary sealers, inspect the repair to ensure:
It has fully adhered and bonded with the surrounding concrete.
The finish is smooth, even, and seamless.
No cracks or defects have appeared during the curing process.
If any problems are found, such as surface cracks or poor bonding, additional repairs or touch-ups may be required.
Proper finishing and curing are essential steps to ensure that your concrete repair is long-lasting and durable. By carefully finishing the repair surface to blend seamlessly with the surrounding concrete and following the correct curing practices, you’ll maximize the strength, durability, and longevity of the repair. Make sure to follow the manufacturer’s instructions for curing times and conditions to achieve the best results.
Why Trust Painter Squad with Your Concrete Repair in Vancouver?
- Expert Craftsmanship: Our team of skilled professionals specializes in Concrete Repair in Vancouver, ensures every repair is done with precision and care, providing lasting results.
- High-Quality Materials: We use only the best concrete patching compounds, reinforcements, and sealants to guarantee durability and strength for all our Concrete Repair in Vancouver.
- Comprehensive Solutions: From small cracks to large structural repairs, we handle all types of concrete restoration, ensuring your surfaces are in good hands.
- Attention to Detail: We go the extra mile to ensure every repair blends seamlessly with your existing concrete, restoring both function and appearance.
- Customer Satisfaction: Our goal is to not just repair your concrete, but to give you peace of mind, knowing the job is done right, on time, and to your satisfaction.
- Long-Lasting Results: We focus on quality repairs that stand the test of time, ensuring your concrete surfaces remain strong and reliable for years to come.
Contact us today! for Concrete Repair in Vancouver. Our skilled local contractors at Painter Squad are here to offer a free consultation and restore your concrete surfaces with professional care and precision.
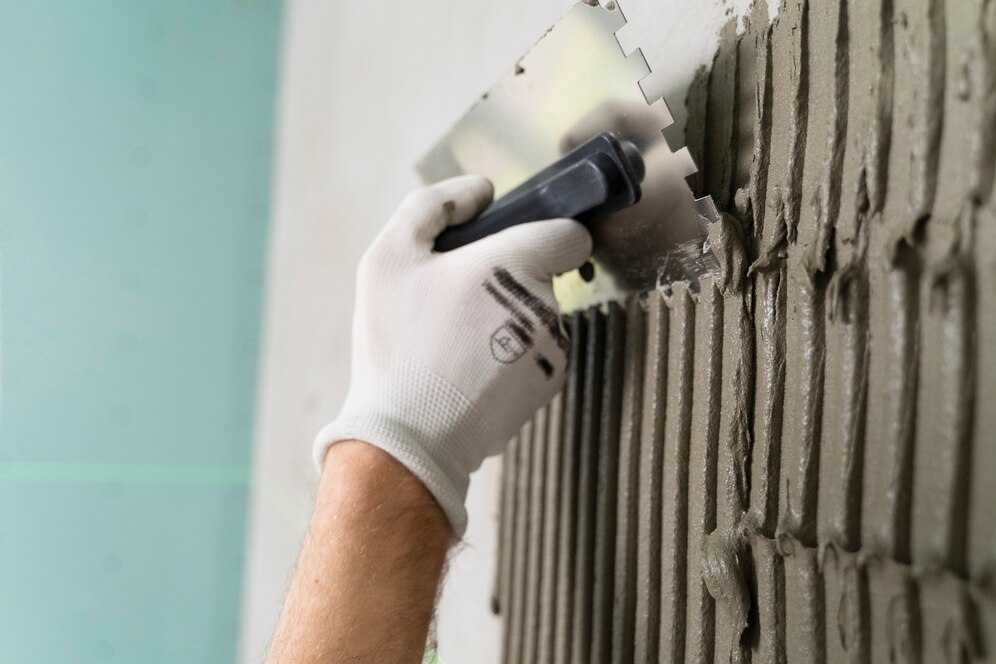
Book Your FREE Estimate Today!
Schedule a no-obligation consultation with Painter Squad today! Call us at 604-902-9936 or fill out our quick and easy form to get started on your painting project.
Choose Painter Squad for Affordable concrete repair services in Vancouver
We Value Your Time
Painter Squad completes your concrete repair project on time with efficiency and quality. We minimize disruptions, ensuring a smooth, hassle-free experience, so you can enjoy your beautifully refreshed space sooner.
We Respect Your Privacy
Painter Squad works discreetly, respecting your schedule and space. We maintain cleanliness, provide accurate estimates, and complete projects efficiently—ensuring a smooth, hassle-free concrete repair experience with minimal disruption to your home.
We Love Quality
At Painter Squad, quality is our top priority. We never compromise on excellence because your home reflects our work. Every project is completed with precision, ensuring lasting beauty and satisfaction.
We Guarantee Quality
Painter Squad ensures a flawless finish you'll be proud to showcase. With expert craftsmanship and attention to detail, we guarantee you'll love the results and enjoy your beautifully painted home.
Common FAQs About Concrete Repair
We specialize in crack repairs, resurfacing, patching, leveling, foundation restoration, driveway and sidewalk restoration, and applying protective sealants.
Signs that your concrete may need repairs include cracks, uneven surfaces, spalling (flaking or chipping), potholes, and water pooling. If you observe any of these issues, it’s likely time for repairs.
Common causes of concrete damage include exposure to harsh weather, freeze-thaw cycles, heavy loads, moisture infiltration, and poor initial installation.
Yes, most cracks in concrete can be repaired, but the method of repair depends on the type and size of the crack. Small surface cracks can often be filled with patching compounds, while larger, structural cracks may require more advanced techniques, such as reinforcement with steel rebar or the use of epoxy injections to restore strength and stability. It's important to assess the cause of the crack to ensure the repair is effective and long-lasting.
The duration of concrete repair can vary, typically ranging from a few hours to a few days. Smaller repairs, such as filling cracks or patching surface damage, may be completed in just a few hours, while more extensive repairs, like foundation work or resurfacing, may take a day or two. The curing time also plays a role, as concrete needs time to fully set and reach its maximum strength.
We work to ensure that repairs blend smoothly with the surrounding concrete, but some minor variations in color or texture may be noticeable due to the natural wear and aging of the existing surface over time. However, our goal is to achieve a repair that looks as close to the original as possible.
The longevity of repaired concrete depends on factors such as the type of repair, the quality of materials used, and the environmental conditions. Generally, well-done repairs can last anywhere from 5 to 20 years, with proper maintenance. For example, minor crack repairs may last several years, while more extensive foundation or structural repairs can last much longer, especially if sealed and protected. Regular care can significantly extend the life of your repaired concrete.
When the concrete shows signs of minor to moderate wear, there's a good chance it can be brought back to life, making it both a time-saving and cost-effective solution. But, when faced with concrete that's seen better days—severely worn or structurally unsound—it may be time to bid it farewell and consider a fresh replacement.
Although certain repairs can be performed in lower temperatures, severe cold or moist conditions might impact curing and strength. We suggest planning repairs when the weather is dry.
Indeed, we provide protective sealers and coatings to improve durability, thwart moisture infiltration, and prolong the lifespan of your concrete
Prices differ depending on the repair's size, the level of damage, and the materials utilized. We provide complimentary consultations to evaluate your requirements and give a precise quote
You can reach us by phone (604-902-9936) or via our website (www.paintersquad.com) to schedule a complimentary consultation. Our specialists will evaluate your concrete problems and suggest the most effective solutions


